 return to
  Bad pictures ? Click here
 Miniature Dollhouse collector : Birdcage
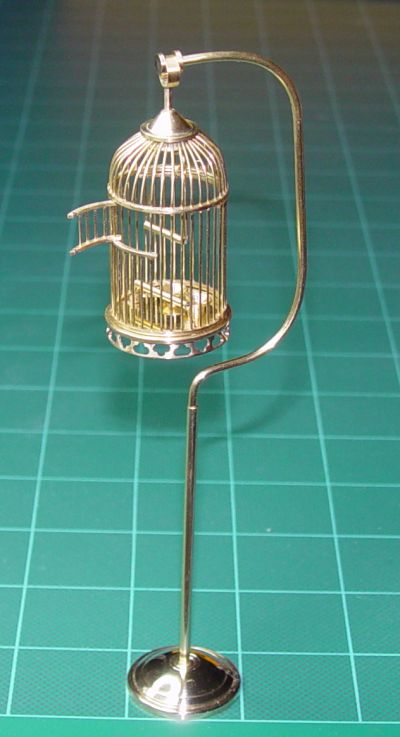
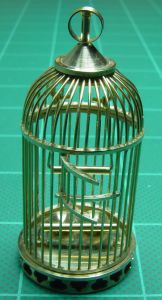
This birdcage, at scale 1/12 was a real challenge to make. I first thought it was a quick project, but it became quickly one of the largest I ever made. To be honest, I added many details that where not intended in the original planning, but that's the fun of it !
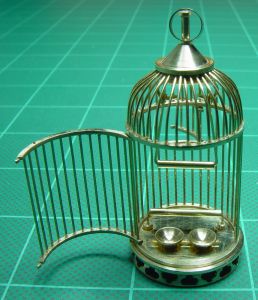
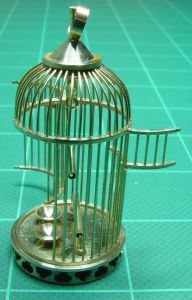
Two functionnal doors can be openned, they close with a little "snap" using tiny hooks. The large door is the maintenance facility of the cage, you can feed the bird, add some seeds and fresh water, clean the mess and of course more importantly glue a tiny tweety on the swing easily.
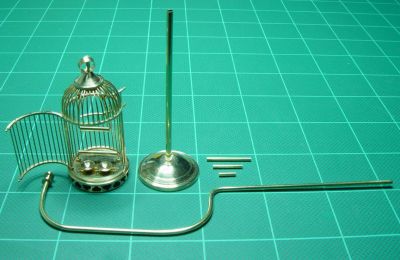
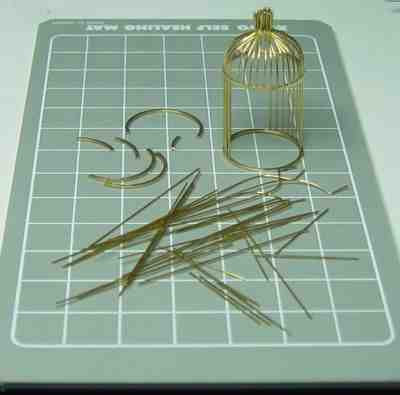
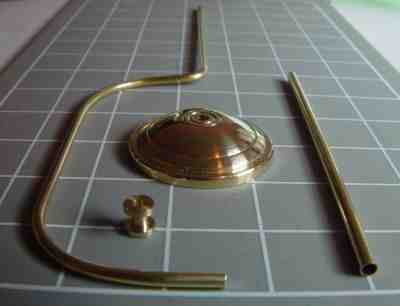
Here are the few parts that compose the birdcage. By inserting in the vertical tubing support one of more little pieces of rod (see at the right of the round floor base), you can vary the middle height of the cage (eye level at the swing) from 6" to 4 1/2".
Here's the various heights achievables with a combinaison of the 3 little rods. Of course you could use any length, or glue it in place at a given position.
Now, for those interested by the machining process, here is a few photographs I took during the builing of the cage.
 Making the rings
The basic idea was to make rings with holes to insert the cage's bars, to easily glue the bars, keep a perfect spacement and increase rigidity. Four rings are necessary, 2 for the cage, and 2 cut in pieces to make the top and bottom of the doors.
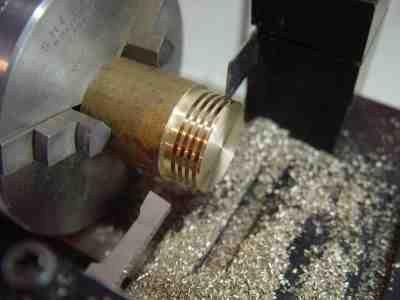
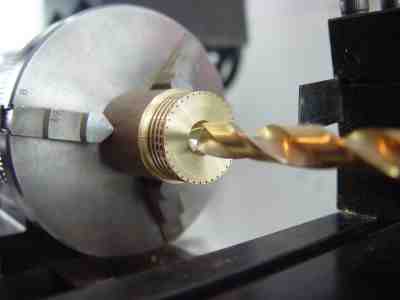
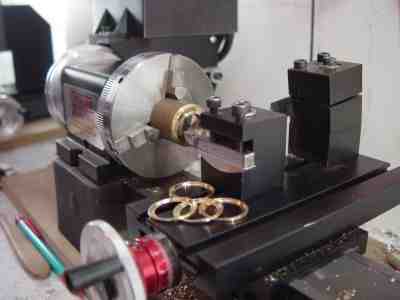
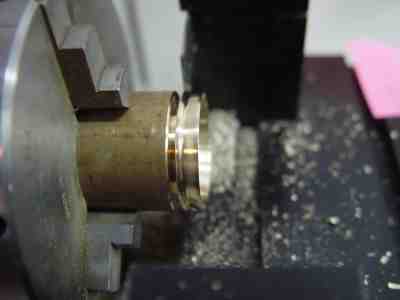
First, some grooves where made on a 1" brass rod, with the thinkess needed for the rings.
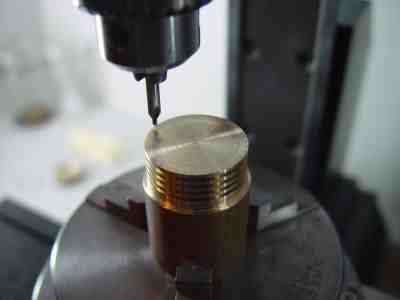
Then, using a center drill I marked the center of the future drilling.
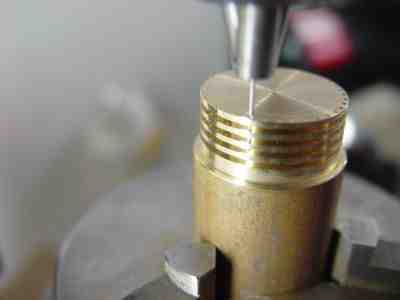
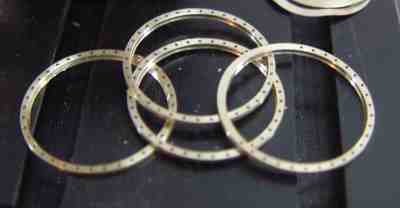
And drilled all way through using a #76 drill (diameter 0.02", or 0.51mm). That way, all the holes are drilled in one step, and the groove give clearance to evacuate the metal chips during the drilling of each ring. I previously tried to drill the edge of a plain rod, and then cut the rings but the drilling was SLOW because of the need to remove regularly the drill to evacuate the chips. I broke a drill trying... But this way is far superior, much quicker and safe for the tiny drill.
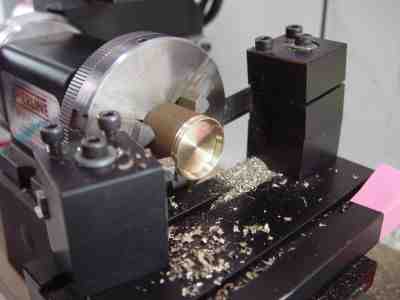
When all was drilled, here's how I separate the rings from the rod. First, drilling the larger hole I could, here with a 3/8" drill (9.52mm)
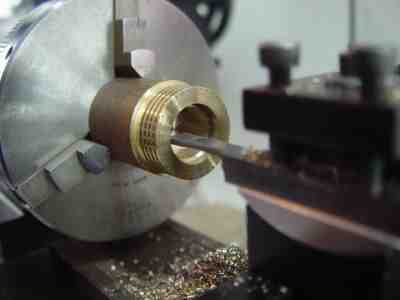
Then, using a boring tool, I enlarged the inside hole until a very thin inner side remain.
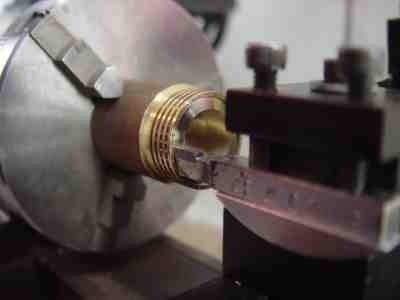
And, Using a normal cutting tool I dig into this inner side...
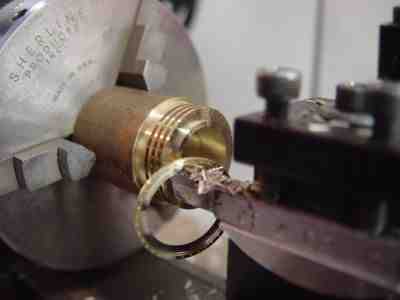
...thus, separating the ring with the proper thickness, as close of the little holes as I dare.
Done!
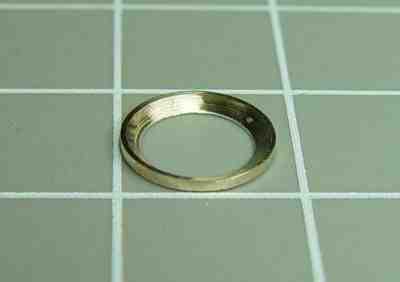
Here is the result, a few rings very precisely drilled, with a perfect match between each other.
 Making the cage base
Now, as the cage will be hang up, I thought is would be nice to have some sort of fancy metal work with the light passing through. On a realistic point, a plain metal base would be too heavy on the stand. I wish I had some skills as a metal engraver. Unfortunately I don't ! Here's my best try without this particular skill but using adequate tools :-)
From the same brass rod, I cut the shape of the base.
I precut the serapation groove, and round the angles using a file. Now the shape is not strait, but have some nice curves
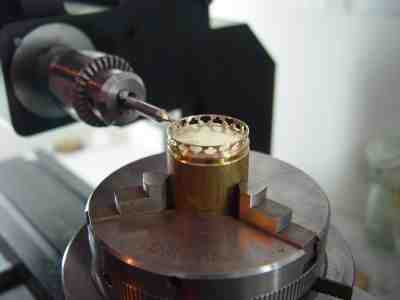
And here's the trick : Using a end mill in a horizontal position, I cut the design in the metal using the high precision of the Sherline rotary table.
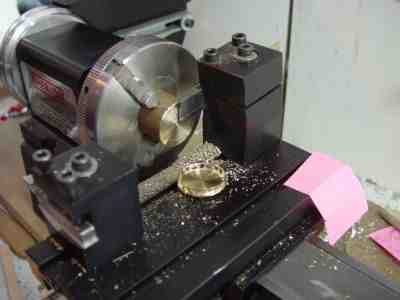
When it's done, back to the lathe and I finish the separation cut of the base from the brass rod
Done !
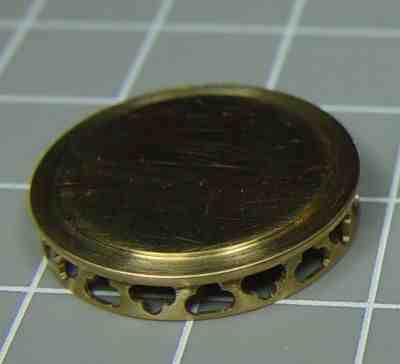
Here's a zoom of the result. Note the little edge that will be used to center perfectly the base ring from the cage.
 Making the bars
For the bars, I used 0.02" brass rods readily available in hobby shops.
My first idea was to curve all the rods first, and glue them in place. It was not a good idea ! I think it would have been much easier to glue to rods strait first, then wrap them on round ended rod inserted inside the cage. Anyway, here's the process I followed.
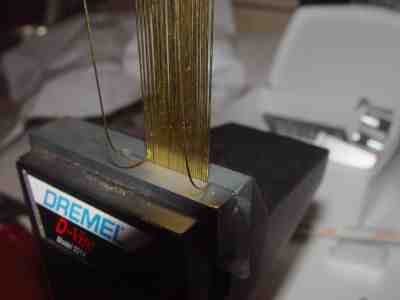
While gripping all the rods in my little Dremel vise, I curved them around a large rod of the proper diameter (about 1/2").
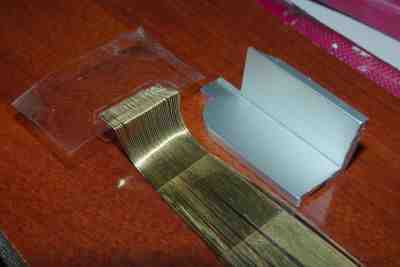
Here's the result. First I thought about curving each individually using the pattern you can see on this photograph, wrong idea again !! The brass rods are like springs, and don't keep a shape easily. I had to curve more or less all the rods in the vise, and I used the template only to check is the curvature was correct.
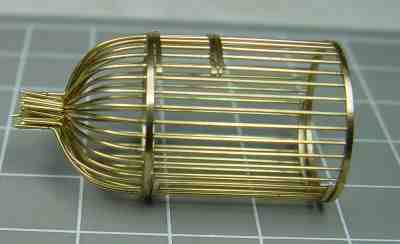
Then, I carefully glued all the rods and make the doors at the same time using the cutted ring parts. The angle of each bar at the top of the cage was also not a so good idea... (sigh) To many rods ! The basic idea was to join all the rods with a brass plug, but now I see that it would have been way too thick and ugly !
So, I took a deep breath, and cut the rods flush. Now THIS take guts, because at this point with all the rods glued with cyanocrylate glue, I would not have any other choise if I made a wrong move than drop it all in the trash and do it again.
 finishing the assembly
The cage is almost done, only need now a few pieces here and there.
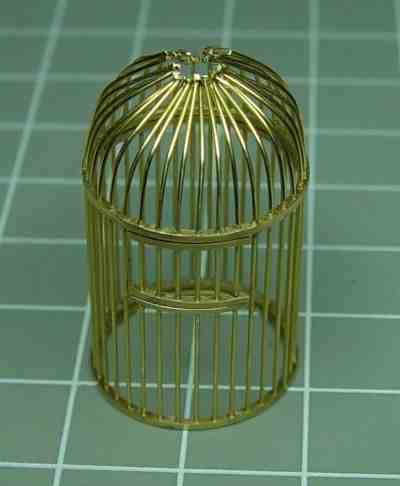
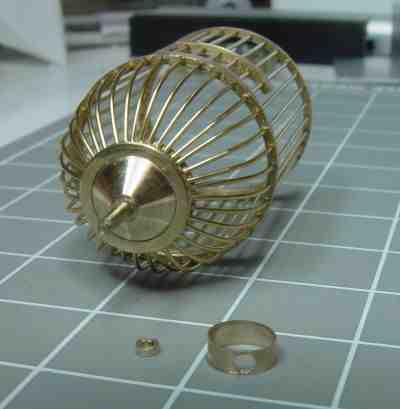
First, the top of the cage. Here is the two pieces that grip all the bars. All was flooded with CA.
A little ring was made to cover the CA mess, and also make a nice finish touch to the top.
There, you can see the top assembled, and also the two little pieces that will make the suspension ring.
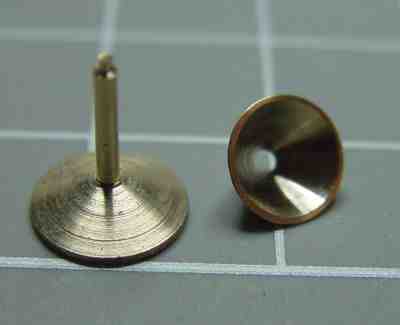
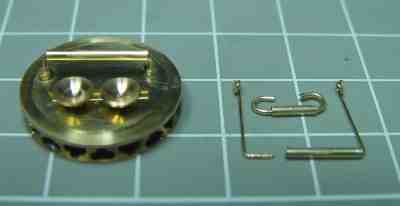
Details where added to the base, two dishes for water and seed, a little support for the bird to eat comfortably, and the little swing that will be glued inside the cage.
Finally, the support was assembled using tubing and rods also available in hobby shops. The heavy massive brass base was also cut in the same 1" brass rod.
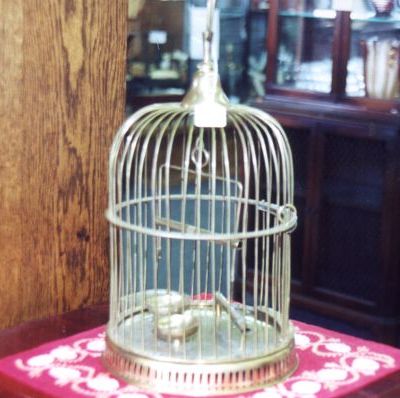
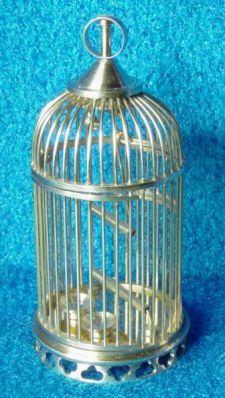
And here is the real birdcage that inspired me to the left, and mine at scale 1:12 to the right.
I made mine a little different, a little heigher because I wanted plenty of place for my bird, with a large door to install easily things in it, but close enough to look like a real one hopefully !
Thanks for your interest.
 Bad pictures ? Click here